API
Statechecker implements a restful api with auto-created swagger documentation for each endpoint.
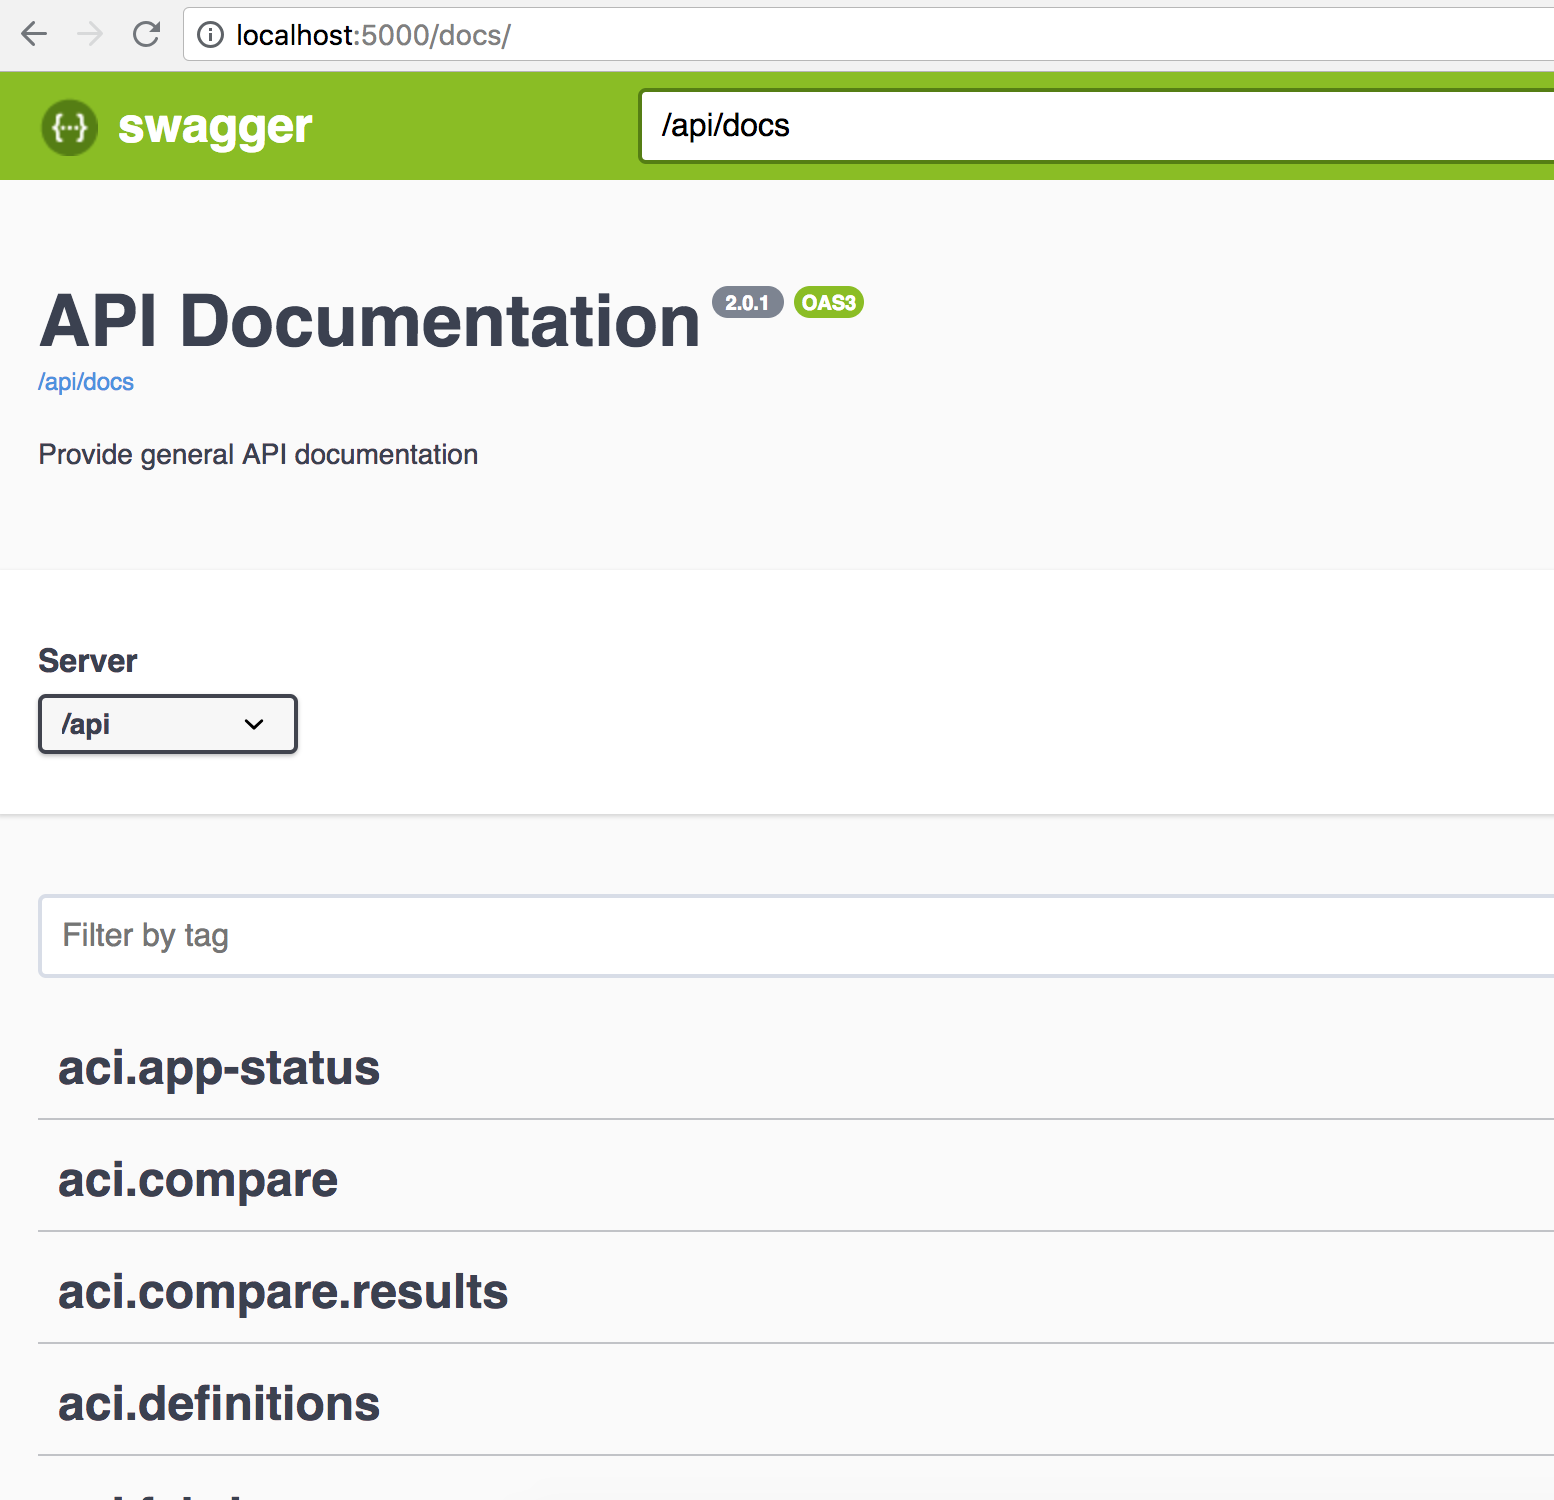
The swagger documentation is available at /docs.
The api implements basic CRUD (create, read, update, delete) operations for objects that
support them. In general, create requests are issued via an HTTP POST, read requests via an HTTP
GET, update requests via HTTP PATCH, and delete vai HTTP DELETE. The url endpoint, parameters, and
responses are all provided in the swagger docs.
Note
the swagger documentation is only viewable in standalone mode.
Authentication
Authentication can be enabled or disabled by the LOGIN_ENABLED option. This can be set via an
environmental variable in the container, updates to config.py or instance/config.py values.
It is enabled by default in standalone mode and disabled in app mode as APIC handles all
authentication and authorization.
Session management is handled by login and logout APIs under the users class. For login, a cookie named ‘session’ is returned and should be provided in all subsequent API calls.
# login
curl -X POST "http://localhost:5000/api/users/login" -H "Content-Type: application/json" \
    -d '{"password":"cisco","username":"admin"}'

# logout
curl -X POST "http://localhost:5000/api/users/logout"
APIC API access to StateChecker App
When running in app mode and deployed on the Cisco ACI APIC, the app is accessible via the
http://<apic-ip>/appcenter/Cisco/StateChangeChecker/proxy.json. Note, the APIC restrics apps
to GET and POST methods only. Additionally, only static url endpoints are allowed. Since this app
uses GET, POST, PATCH, and DELETE as well as dynamic url endpoints, a proxy option was
implemented to allow it to run on the APIC. For the proxy, all requests are sent as POST to
proxy.json endpoint with the following required in the data field:
- method The original method intended for the app (GET, POST, PATCH, or DELETE)
- url The original url that is indented to be proxied. As an example, to get a list of snapshots, the url would be /api/aci/snapshots as seen in the swagger docs.
- data The original data sent via POST, PATCH requests.
The user must also have admin read access on the APIC and use the APIC aaaLogin api to acquire a
token for accessing the app API. The token must be included in all requests as a cookie
named APIC-Cookie or an HTTP header named DevCookie.
For example:
# login - update credentials with appropriate username and password
export token=`curl -skX POST "https://127.0.0.1/api/aaaLogin.json" \
    -H "Content-Type: application/json" \
    -d '{"aaaUser":{"attributes":{"name":"username", "pwd":"password"}}}' \
        | python -m json.tool | grep token | cut -d'"' -f4`

# read local app fabrics objects: /api/aci/fabrics
curl --cookie "APIC-cookie=$token" \
    --header "DevCookie: $token" \
    --header "Content-Type: application/json" \
    -skX POST "https://127.0.0.1/appcenter/Cisco/StateChangeChecker/proxy.json" \
    -d '{
        "method": "GET",
        "url":"/api/aci/fabrics",
        "data": {}
    }'

{"count":1,"objects":[{"apic_cert":"/home/app/credentials/plugin.key","apic_hostname":"https://172.17.0.1","apic_username":"Cisco_StateChangeChecker","controllers":[],"event_count":0,"events":[],"fabric":"esc-aci-fab4","max_events":1024,"ssh_username":"admin"}]}
More information on using the Cisco API is available on Cisco APIC REST API Configuration Guide